I've had a hard time getting this posted as my daughter and I have been obsessed with watching the Olympics Ice Skating. (Or figure skating.) It's been taking up a lot of our time! The Princess has even noticed the skater's fancy hair and outfits and has wanted to look just like them. She's been wearing a lot of buns to school this week. :) We're actually watching Rachael Flatt, Miki Ando, Kim Yu-Na, Joannie Rochette, Mirai Nagasu and Mao Asada right now as I type!!
Anyway, back to our guest post......
I always love seeing pictures of hairstyles you have done. It's especially fun to see cute hairdos on all different types of hair textures and lengths!! I love that these pictures came from all over the place too. We even had a few people send in hairdos who don't speak English. I've decided that cute hair is the new international language. Everyone understands it!! :)
There were so many adorable hair styles submitted this time around that I decided to break them up into 3 posts. Too much cuteness at once can be overwhelming! So...if you sent something in and don't see it here, it's probably coming. Keep an eye out for the next two posts.
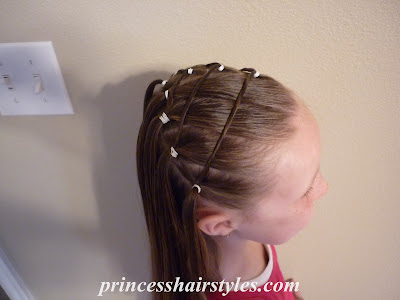
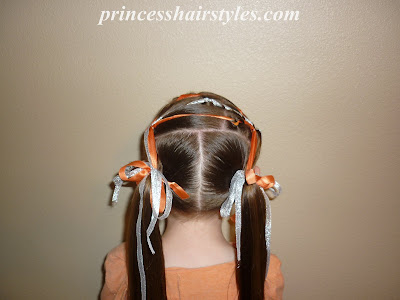
1. Creative Ribbon Hairstyle
2.. Renaissance Braids


3. Easter Basket Hairstyle
4. A Cutie All Dressed Up


5. Flipped Heart Variation
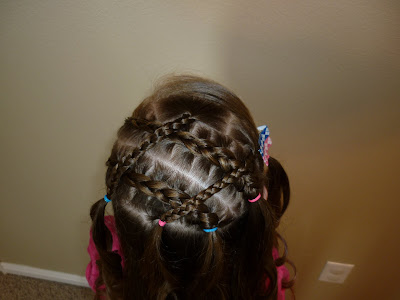
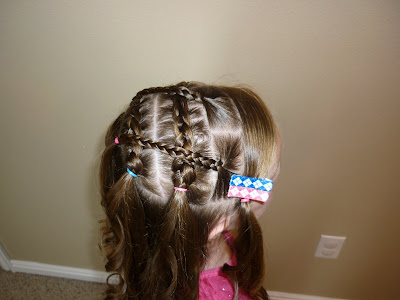
6. Crossing Braids


7. Belle Costume/Hairstyle8. Braids and Beads


9. Original Pigtails and Braids10. Cornrow Braids and Beads


 Lots of darling hairstyle ideas to keep you busy! I'll try and get the other two guest posts up next week. In the meantime if any of you have a hairdo you want to share, the fastest and easiest way is to post them on our facebook page and of course everyone is welcome to post there! Or send them in email if you would like.
 Start by parting from ear to ear. (Not crooked like mine. :) Then make some sections all the way across and secure with rubber bands (leaving a section on one side temporarily unbanded.) I made 8 sections total. 4 sections on one side of the unbanded section and 3 on the other.


 Make 2 more diagonal sections behind the first two and inside-out french braid them.
 Now take the scrunchie out of the section in front of the french braids, split it in 2, and braid both pieces. Bring the braids over across the top of the french braids (to the other side of her head) and secure them each to a little piece of hair under your part with an elastic.
 I curled the hair in each of the 5 little ponytails with our


 Make a half pony. Split in half and braid each side.
 Form a heart shape. I didn't do step by step instructions for the sewing. Go to this
  So, in this picture only the top 8 stitches (4 on each side) are actually sewn to her hair. The rest of the ribbon is just wrapped around the braid on each side. Does that make any sense?


 This one was fairly quick. We were done in 12 minutes.
 Ok, back to hair. I didn't do step by step pics for this one. It's basically


 Gotta love the wet hair here. Yep, we have those days too. A LOT~!
 The next day I left the braids in and pulled everything else back into a messy bun. It looked adorable. I should have taken pictures, but I didn't. Anyway, that's another option with this hairstyle.