Survivor "Redemption Island" Braided Hairstyle:
On last weeks episode of Survivor: Redemption Island, one of the girls (Andrea Boehlke) had the cutest beachy braided cornrow hairstyle! I have to laugh because team members Andrea, Ashley and Natalie got into a bit of "trouble" with another cast member for playing "beauty pageant" instead of working around camp lol. Apparently it was worth it though because gosh, look how cute these beachy french braids are!
 I had to snap a picture of our TV right then and there! And of course, we wanted to recreate this hairdo on our princess. Keep in mind, it would be better to be working with dry, slightly wavy hair to create this tousled beach look. The princess had freshly washed/wet/straight hair when we decided to try this one, so it's more slicked down and less messy looking than the survivor camp version.
We started with a regular side part.
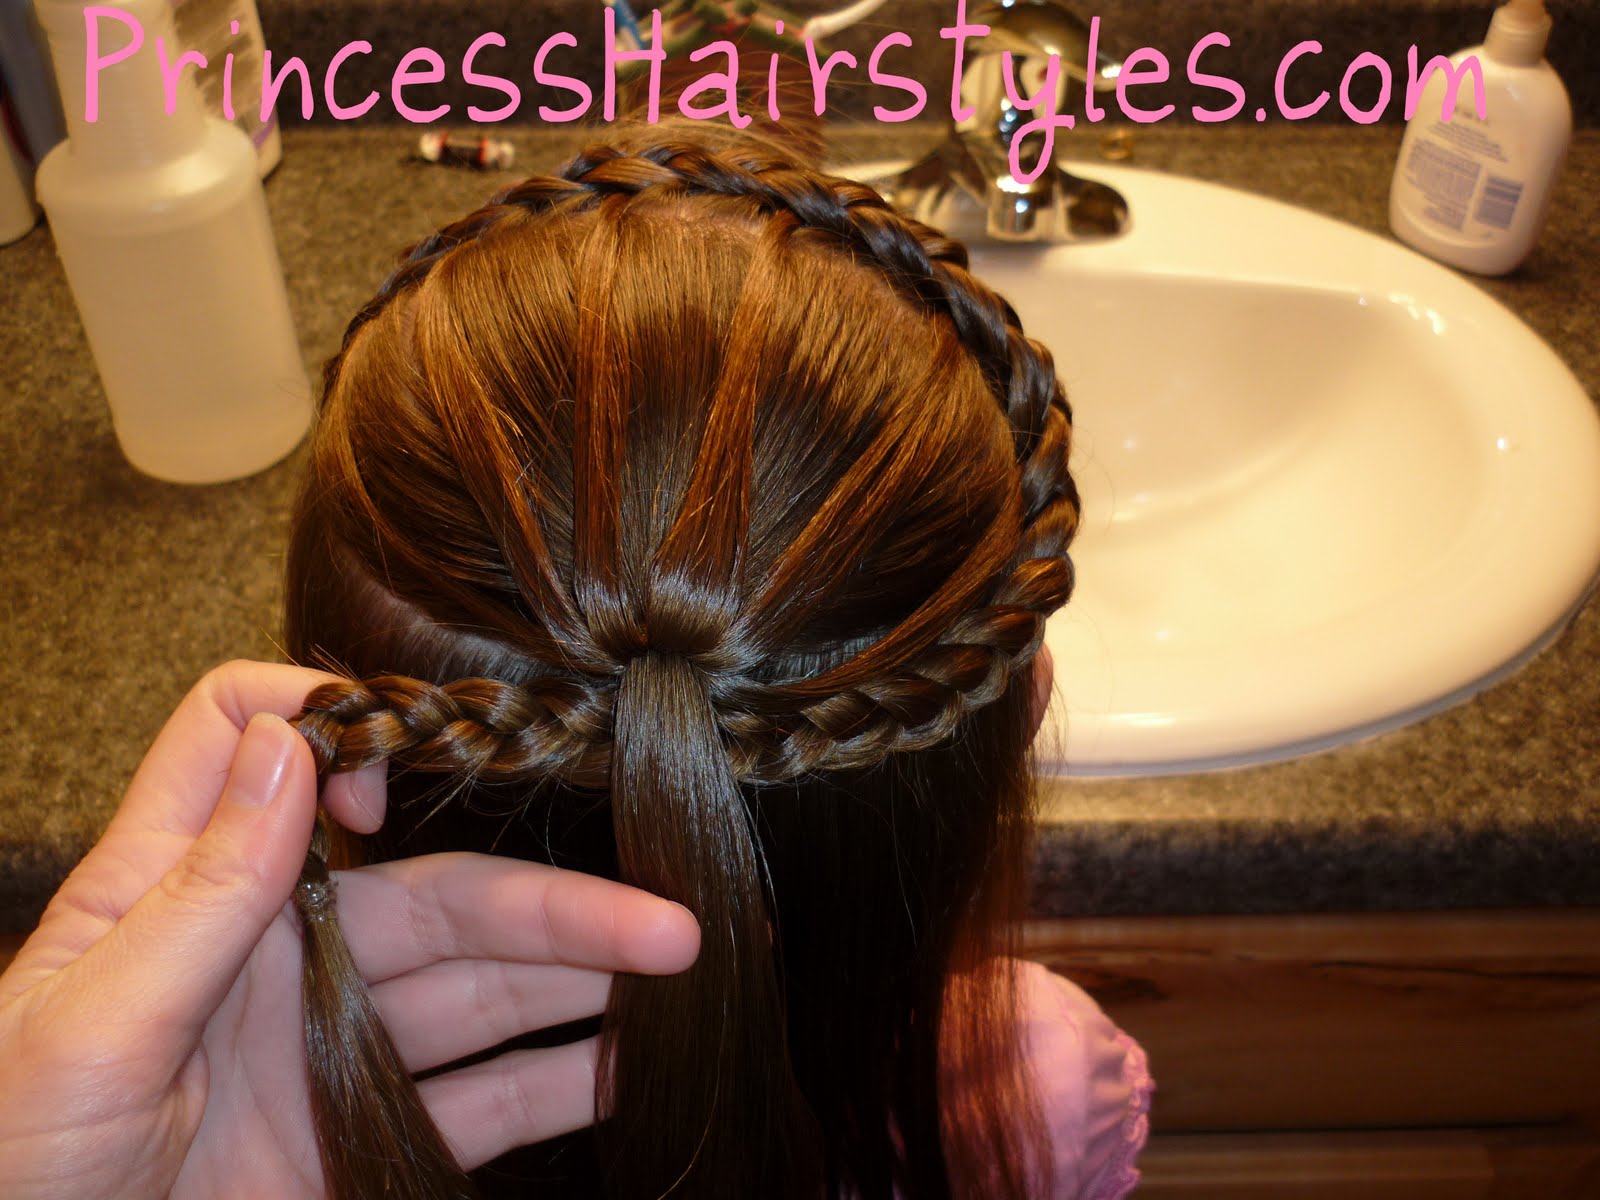
 Then made 3 cornrow braids on one side of the part....
 On the other side of the part, I left out a section in front to braid later and added 2 more cornrows slanting slightly forward. If I did this again, I would probably angle them more sharply towards the front of her head.
 Next I started another cornrow with the front section or "bangs" and added in the other 2 cornrows with the braid as I got to them.
 I kept braiding, and as I turned the corner, only took hair from the top of the french braid around to the back.
 After all of the braiding was complete, I added everything together into a ponytail.
 And lastly, made a messy type bun....
 The finished style...
 I should have taken a picture, but the day after we did this- her hair looked more like Andrea's (since the braids had a chance to loosen up and get a little messy overnight.)
 A fun braided style for the beach, camping, or anytime. :)
 Thank you Survivor for the hairstyle inspiration! I'm so impressed with the cute braids this season (especially considering the girls have no hair tools to work with.) Who would have thought?
 Start by parting out a box in front and do a
  Leaving the end of the pull through out, (you'll need it later to secure the heart.) Make a low pony and do 2 braids with the top half of the hair in the pony.
 Bring the braids up and position them into the shape of a heart. When you get them the right length on both sides, secure them together with an elastic. You don't want the braids too long or they'll flop around and won't stay put. Also, you need some ends left to add back into the ponytail.
 At this point, you'll bring the ends from the pony on top down and add them in with the ends of the braids. So, you'll have another elastic over the same place you just put one to tie the 2 braids together, (to secure the heart into place.)
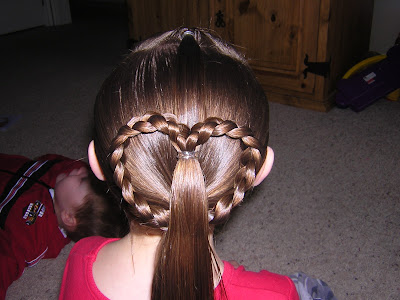 Now, add one more elastic at the base of the pony to keep everything together. If you don't make the braids too long, you won't even need anything to help it keep it's shape. I didn't add any bobby pins or anything and it stayed just like this all day!
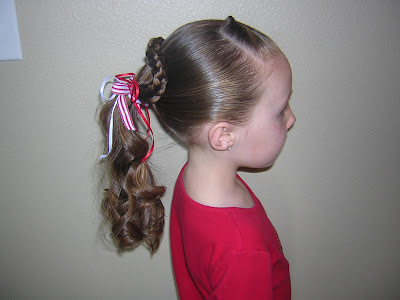
 Add a bow if you want. I just used some spare ribbon I had hanging around the house and tied a bow with each piece.



 . There are several dolls available (Addison, Calista, Kaitlin, Aliesha and Noelle.) You can go to the


 like we did in our