We had a request from Michelle on our
facebook page for a dance recital hairstyle. Her dance group will be wearing their hair half up with a piece of fabric used as a headband. How convenient! I didn't even need to come up with anything new because The Princess's dance group uses a headband with their costume this year as well. So, I dug through our dance pictures and this is what I found....

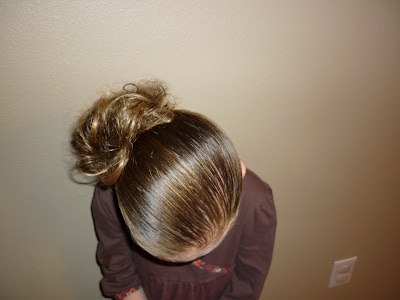
The little girls in the Princess's dance group are told to put their hair up in a bun/hairpiece with the headband. But this style could easily be changed into a half ponytail by only bringing up half of the hair in the back.
I took step by step pictures for this hairstyle one time before a dance review, but half of them got deleted. So, we did it again for school the other day.
Start by making a part from ear to ear and add the headband, ribbon, or piece of fabric. This time we used a ribbon that is tied into a knot underneath her hair.

Part the hair in front on the side. Take the hair on the side where the least amount of hair is, spray it down with some water and twist it up. Now, this is what helps to keep the headband in place..... Grab a little piece of hair from underneath/behind the headband...

And add it in with the twist on the other side of the headband. You'll want to twist this hair in fairly tight to keep the headband from moving.

At this point I thought it would be easier to make the ponytail before I did anymore twists. I had my daughter hold the twist I had already done while I put the ponytail in. Important: Before making the ponytail, I made sure to leave out 2 more pieces of hair behind the headband to add to my other twists. (One more on the side and one on top of her head.) You can see the one on the side in this pic.

I then temporarily placed the first twist where I wanted it with a couple of bobby pins. (You can see the other piece of hair I left out on top for the next twist in this picture.)

You can now take the section in front and make your next twist. I added these both into the ponytail with an elastic at this point.

If you want the twists to cross over the headband instead of a V like we did with the blue ribbon, just switch the hair you add in with the twists in the back. (Add the twist on the right with the hair behind the ribbon on the left and vice versa.)

Now take all of the remaining hair in the front and make the final third twist (adding in the last strand of hair you left out behind the ribbon) and add to the ponytail with another elastic.

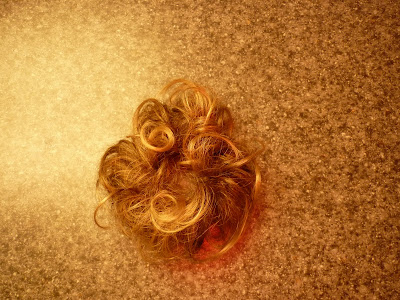
I took the easy way out and added our "
fake hair" to finish off this messy bun. If you want to do a real messy bun, you can check out our
messy bun video for long hair.


You can't really see the hair I added into these twists behind the ribbon, but having it twisted in this way held the headband in place perfectly for school and for dancing!

Of course, I need to show this next dance hairdo as well, it's one of our favs. I stole this idea from the mom over at
Babes in Hairland! You can click over to her site to see the instructions.

Hope you can find something you like Michelle. Good luck with the recital!
Also, it's the last day to enter our
contest for the gift cards to hair flair boutique. 3 winners and not too many entries.... the odds are pretty good!

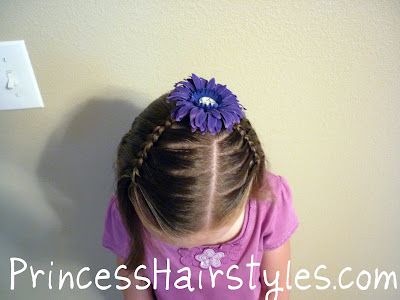
 One single french ribbon braid down the middle....
 And, a single braid using thinner ribbon. (FYI, we've found this holds together better if the ribbon is a little thicker.)


 The hairpiece we got is from


 I hope these pictures aren't confusing. Just ignore everything going on with the rest of the hair and focus on the section right in the middle of the picture. You start by parting out the row. I did ours about an inch across all the way down. Get the hair on both sides of the row you parted out of the way with some elastics or clips. Part out your first section in the row and start doing a regular braid. (You don't need to braid down very far.)
 Put a clip in to keep the braid from unraveling and part out your next section.
 Split the section in half.
 Take out the clip and put the braid through the middle of the next section.
 Using the braid as one strand and the 2 pieces of the section as the other two strands, continue braiding normally. Put in another clip, part and split the next section again and repeat all the way down. That's all there is to it!
 Here we are with the whole top of her head done. At this point I just put in some pigtails and made some braided buns leaving the ends out on top.


