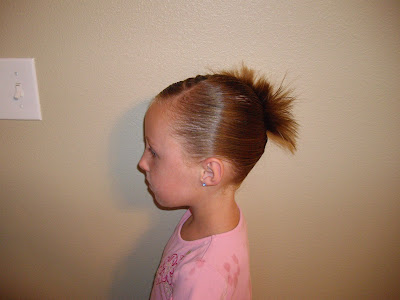
Halloween Hairstyles
I've compiled a bunch of our hairdos that may work for Halloween right here in one post. Now to figure out what you're going to be and find a costume! Can't believe Halloween is almost here!
First off (of course) are the Princess Hairstyles! What else? Are you thinking of being A Princess for Halloween?? Maybe one of these hairstyles will work. For step by step - how to hairstyle instructions, click on the title above the picture of the style you want to try!
Princess Updo Halloween Hairstyle
 Fancy Princess hairstyle
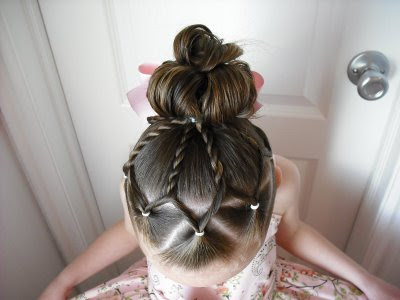
Fair Maiden Hairstyle

Fairytale Princess Hairstyle
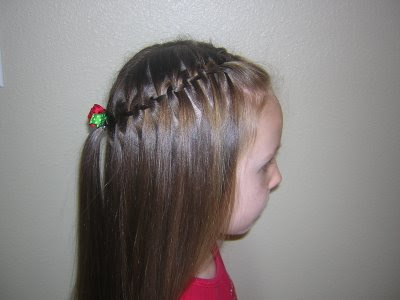
Princess Belle Hairstyle (From Disney's Beauty And The Beast.)

Belle Hairstyle (shorter hair variation)

Cinderella Hairstyle
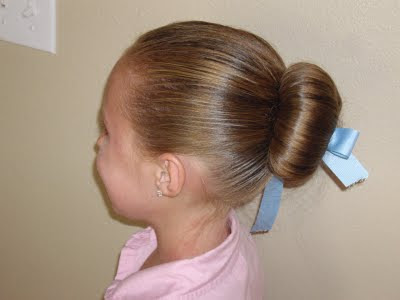
Braided Princess Hairstyle
 Needing a wand to go with your Princess or Fairy costume? My friend Trisha has made excellent DIY instuctions here:
 How to Make a fairy wand
Maybe instead of being "princessy" you would rather look a little more scary. Here are some fun spider web hairstyles to try, and the spider. I think these would be cute hairdos for a witch!


Or what about doing a Mummy Hairstyle.......

Maybe you are planning on dressing up as a Barbie Doll? Here's a cute Barbie Hairstyle for Halloween!

And, one last Halloween hairdo... A Candy Corn inspired style.

Completely non hair blog related. BUT have you ever felt "obligated" to dress up as something for a Halloween function but not have the time or desire to dress up? (Yeah, I'm not really one of those "fun moms.") Here's a solution..... A quick and easy Halloween costume! No sewing or painting required, hehe. Can you guess what it is??
 It's a "cereal killer!" (Serial Killer) All you need for this "costume" is: 5 minutes, a box of cereal, a knife, and some tape. If you wanted to get more creative you could use some fake blood! There you have it; the quickest, easiest, costume I could think of.
Hope you had fun looking through our Halloween Hairstyles collection. Happy Halloween!


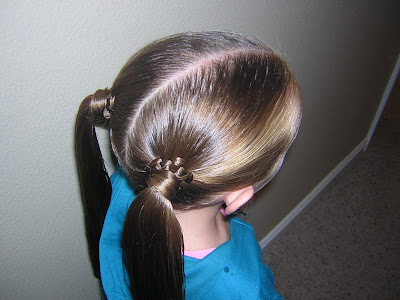
 After you are done sewing, take another small piece of hair and wrap it around the elastic of the ponytail. Secure with one more clear elastic at the bottom of the wrapping to hold everything in place. I pushed the hair up out of the way so you could see the elastic in this picture.
  We did this with pigtails one day.....
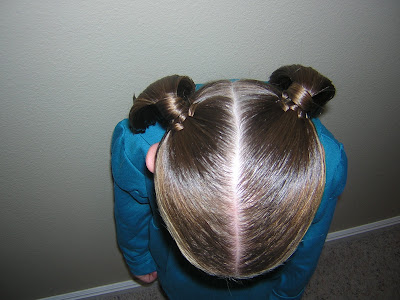
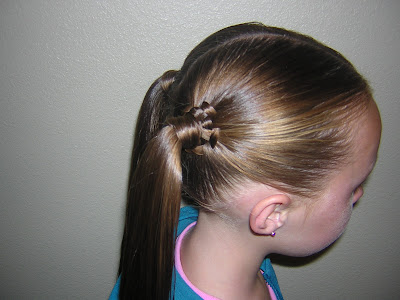


 Spike out the ends with a flattening iron, and spray.
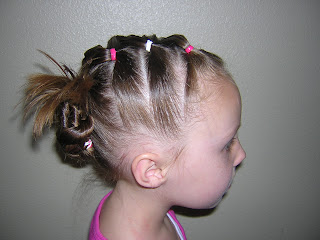
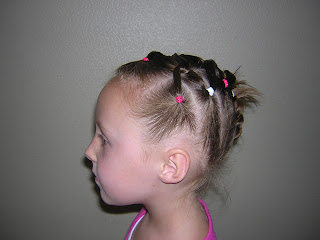


 Start making your connectors the usual way. We did 4 ponies in front.....
 And 5 underneath (splitting each of the first 4 ponies in two and connecting them to the ones behind.)
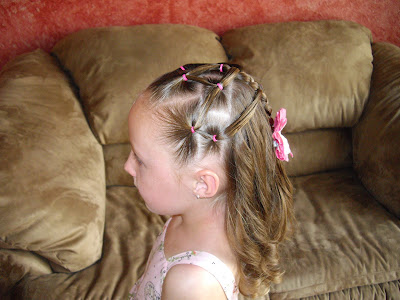
 Now, here's the new fun finish: Take the 3 sections in the middle and start braiding them together.
 Then, a little ways down, add the other 2 outside sections in with the braid.
 Continue braiding down as far as you want to go.
 Add a cute bow and some curls!

 Btw.....The flower used in this hairstyle came from
